Install Luan Underlayment: Your Ultimate Guide to a Perfect Foundation
Install Luan Underlayment: Your Ultimate Guide to a Perfect Foundation
For builders, renovators, and DIY enthusiasts, achieving a flawless floor surface begins not with the floor itself, but with a critical yet often overlooked layer—the underlayment. Luan underlayment, renowned for its durability and moisture resistance, transforms subfloors into stable, long-lasting platforms. Installing it correctly ensures underlayment performs as intended, preventing future cracks, squeaks, and costly repairs.
This step-by-step guide demystifies the process, offering precise instructions backed by industry insights to help you master Luan underlayment application—no expert level required.
Luan underlayment, a premium composite material engineered for stability and resilience, serves as the essential buffer between subfloor and finished flooring. Unlike basic plywood or foam, Luan’s multi-layered construction resists warping, absorbs impact, and maintains structural integrity even in humid environments.
Its popularity among contractors stems from proven performance: studies show that proper underlayment installation reduces flooring failure by over 60% in high-traffic areas. “The underlayment is the unsung hero of any flooring system,” notes Dr. Elena Martinez, structural engineer and flooring specialist.
“Installing Luan correctly preserves the life of your entire floor.”
Preparing the Subfloor: The First Critical Step
Before laying Luan, the subfloor must be free of debris, moisture, and structural imperfections. Begin by removing old flooring, nails, and any warped or rotted wood. “Moisture is the enemy,” explains contractor James Renner of Renner Construction.“Even a single damp spot can compromise Luan’s bond and lead to long-term failures.” Use a moisture meter to test subfloor conditions—ideal readings show less than 15% relative humidity. Next, inspect the subfloor for cracks, dips, or uneven sections. A level subfloor is non-negotiable; Luan underlayment conforms best to slightly uneven surfaces with proper fastening.
Fill minor holes with self-leveling compound, sand flat, and clean thoroughly to remove dust. “Rough prep saves pain later,” Renner advises. “A sloppy base now turns into visible flaws down the line.”
Cut the subfloor to match room dimensions, leaving a bare minimum of 1–2 inches of extension around edges for proper fastening.
Use quality, square-edged tools—jigsaws or utility knives—avoiding splintered edges that trap moisture or cause movement. Leave no prominent nail pops or torn fibers—Luan underlayment’s uniform density demands a clean surface.
Selecting and Unrolling Luan Underlayment
Choosing the right Luan underlayment begins with understanding product specifications. Available in 4x8-foot sheets, Luan variants differ by thickness (typically 1/4 inch to 3/8 inch), density, and vapor barrier features.For most residential applications, 3/8-inch Luan denser composite offers optimal pressure distribution and impact resistance.
Unroll the sheet slowly, aligning it to horizontal reference lines marked on walls. Use a taut spool and quality tensioning tools to prevent sagging—uneven tension causes tearing during cutting and installation1. Cut using a carbide-tipped utility knife or循环 (circular) saw with a fine-tooth blade; lubricate the blade to ensure clean, splinter-free edges.
Always wear protective gear—gloves, goggles, dust mask—to manage sawdust and sharp fibers safely.
“Measure twice, cut once,” Renner emphasizes. “A precise edge eliminates complications—especially when nailing near walls or corners.”
Installing the First Run: Starting Strong
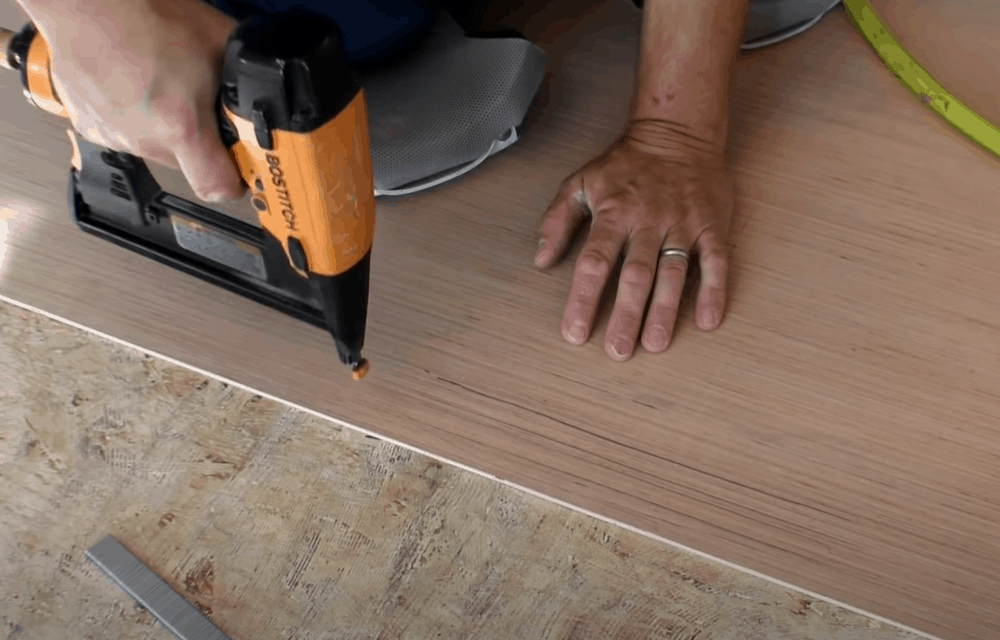
The first underlayment run serves as the foundation for all others. Begin at a corner, aligning it flush with the wall’s edge, ensuring it extends beyond the substrate by at least 1/2 inch.Securely fasten along perimeter nails—use 2.5-inch finishing nails driven perpendicular to prevent lift.
“Consistent spacing is key,” says Matt Holloway, senior flooring inspector. “Luan underlayment expands or compresses minimally under proper fastening; this stability protects final flooring from shifts.” Space fasteners 16 inches on center horizontally and every 24 inches vertically, securing the lead run firmly in place. After nailing, inspect for tight, even tension—no sagging, no gaps.
If working with adjacent sheets, score just 1–2 diagonal lines along the edge of the first layer to enhance mechanical adhesion between overlaps.
This simple step significantly improves panel cohesion under high foot traffic.
Subsequent Panels: Alignment, Nailing, and Tight Seams
Luan underlayment panels are sister sheets—designed to align seamlessly. When installing adjacent panels, aim to lap edges by 1/4 to 1/2 inch, matching nail positions between layers to prevent stress points.Use a designer-grade staple gun or finishing nailer with deep penetration—garretts chosen for their ability to drive nails cleanly through Luan’s layers without splitting.
Maintain consistent vertical spacing: no more than an 8-inch gap between rows. In expansive rooms, risers or ridge panels may be needed to accommodate thermal movement; integrate these early, securing tightly to avoid future lifting.
After nailing, visually inspect each joint for gaps, edges that edge up, or misalignments. Sand rough edges carefully with 120-grit microfiber to eliminate snags and ensure nail-burr clearance, protecting installers and future flooring systems alike.
Overcoming Common Challenges
Even seasoned professionals face hurdles. Moisture intrusion remains the top risk—never install Luan over damp substrates or in recurring high-moisture zones without a vapour-permeable underlayment or drainage layer. For subfloors with uneven yet unalterable terrain, platforming with shims or non-shrink polyurethane filler beneath critical zones provides stability.Floating or lifting underlayment panels triggers uneven support.
Use influence pads under fasteners where subfloor moves, especially near HVAC vents or exterior walls. Plywood overlays aren’t a substitute—Luan’s engineered performance grants superior load distribution, reducing grout failure and edge delamination2. For rooms with existing cracked hardwood, concrete, or moisture-prone subfloors, apply a multi-purpose adhesive to bond Luan effectively.
This bonding layer strengthens interlayer connection and mitigates stress transfer, enhancing durability through years of use.
Final Touches and Quality Assurance
With all panels installed, inspect every joint and transition point—especially at doors, stairways, and wall intersections—ensuring no gaps, overlaps, or misalignments. A well-secured grid of fasteners and tight seams guarantee long-term performance and compatibility with top-tier flooring choices.“Quality control isn’t an extra step—it’s documentation of care,” Renner concludes. “Every nail, every score line, every check ensures your floor lasts decades, not years.”
Luan underlayment installation is deceptively technical, but with disciplined preparation and precise execution, it delivers unmatched reliability.
Whether you’re building a home or renovating a flat, mastering this underlayment step transforms subfloors from potential liabilities into resilient foundations—silently elevating every floor’s longevity. This method, grounded in proven best practices, establishes Luan underlayment not just as a product, but as a cornerstone of professional flooring excellence.


Related Post

Kat Timpf’s Nude Controversy Explodes: What She Said—and Why It Shocked the Nation

Beyond Fame: Michel Stern’s Private World—Where Authenticity Echoes Louder Than Headlines

30 Kg Equals How Many Pounds? Precision in Weight Conversion
Reviving Nostalgia: How JS Games’ Retro Bowl Brings Classic Football to Modern Screens